Microsoft entra id (Azure AD) integration for Linux virtual machines (VMs) is a powerful feature that enhances security and simplifies identity management. By enabling Azure AD login, you can streamline access control and eliminate the need for managing local credentials. In this guide, we’ll walk you through the step-by-step process of configuring Microsoft entra id login for Linux VMs in Azure, assigning roles, and connecting securely.
Table of Contents
Why Enable Entra ID Login for Linux VMs?
Azure AD login offers several benefits for managing Linux VMs in Azure:
- Centralized Identity Management: Manage user access and permissions through Azure AD without relying on local accounts.
- Enhanced Security: Leverage modern authentication methods, such as Multi-Factor Authentication (MFA).
- Role-Based Access Control (RBAC): Assign granular permissions to users and groups.
- Streamlined Operations: Reduce the complexity of managing SSH keys and passwords.
Step 1: Create a Linux Virtual Machine with Azure AD Login Enabled
To begin, you need to create a new Linux VM in Azure with Azure AD login enabled.
- Navigate to Azure Portal:
- Log in to the Azure Portal.
- Go to the Virtual Machines section and click Create > Virtual Machine.
- Configure VM Basics:
- Fill in the required details such as Subscription, Resource Group, VM Name, and Region.
- Choose an appropriate Image (e.g., Ubuntu 24.04 LTS).
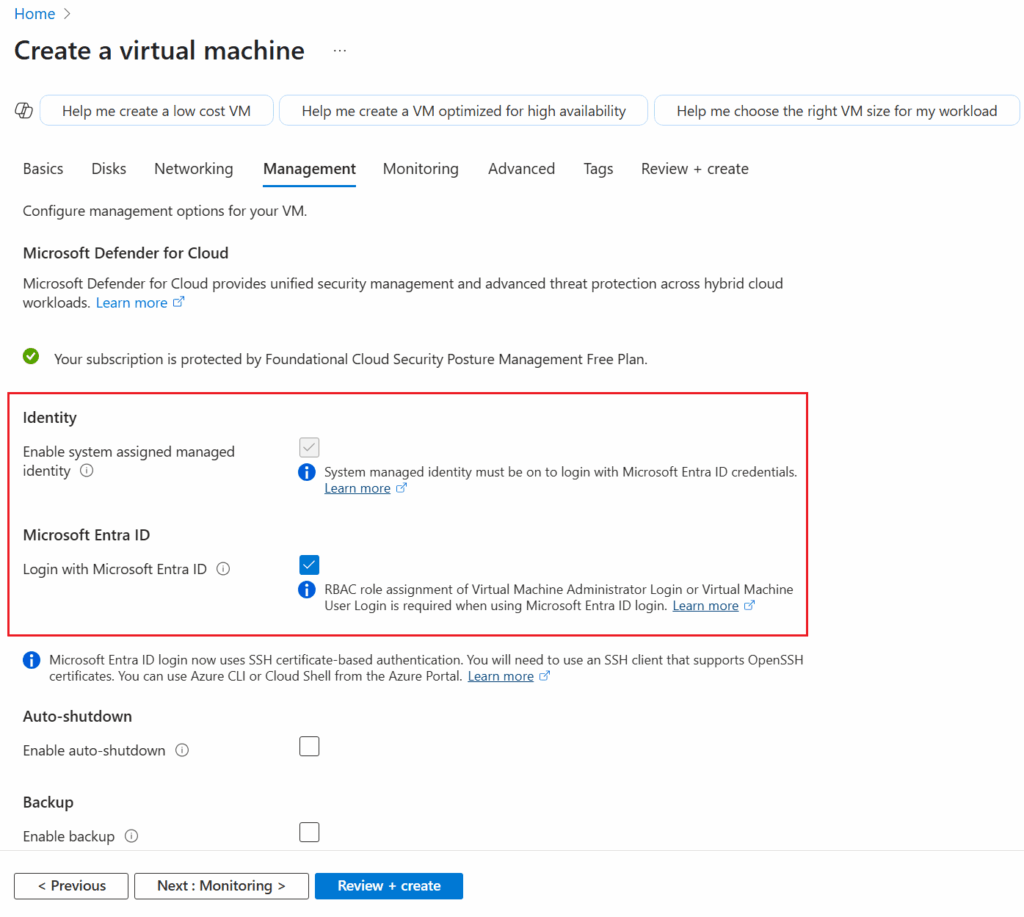
- Enable Azure AD Login:
- Under the Management tab, locate the Identity section.
- Set System-assigned managed identity to On.
- Enable Login with Azure AD by toggling the option.
- Review and Create:
- Review your configuration and click Create to deploy the VM.
Step 2: Assign Azure AD Role for VM Access
To enable Azure AD users to log in to the VM, you need to assign the appropriate role.
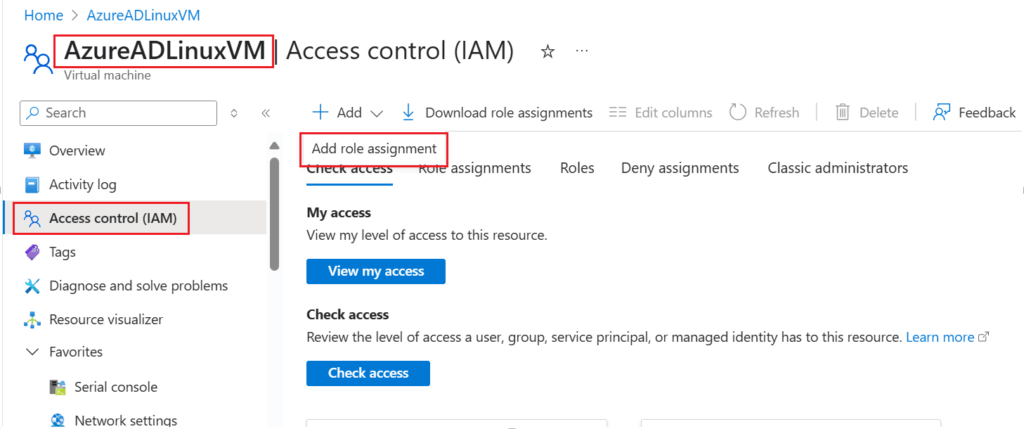
- Access Control (IAM):
- Navigate to your VM in the Azure Portal.
- Go to the Access control (IAM) tab.
- Click Add role assignment.
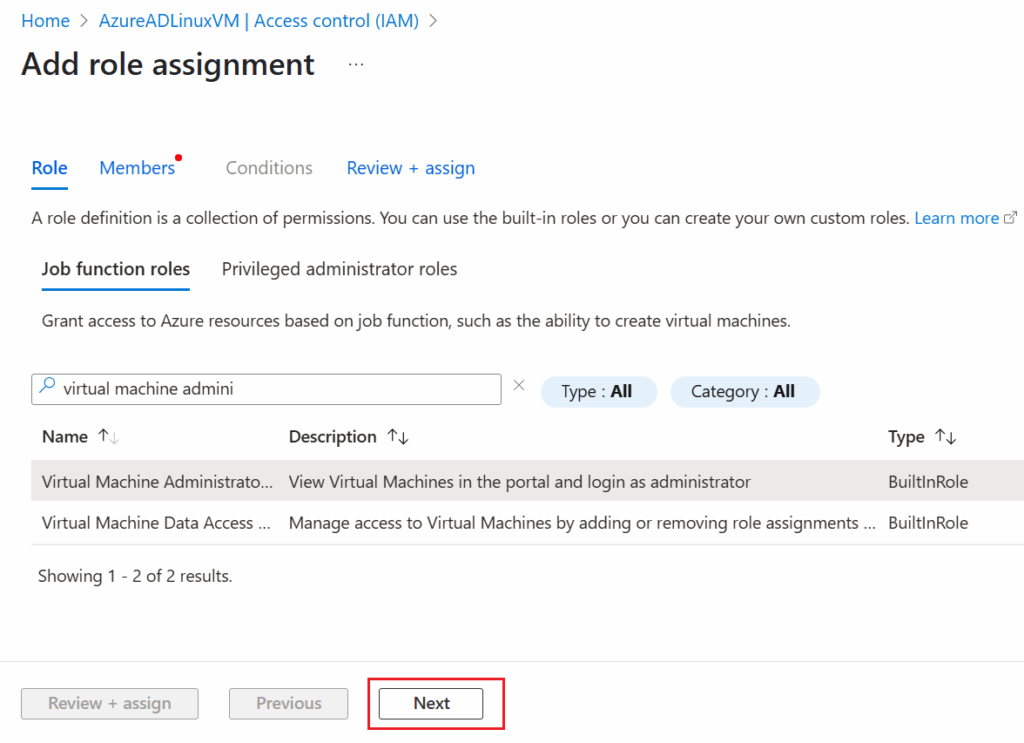
- Select Role:
- Choose the role Virtual Machine Administrator Login or Virtual Machine User Login, depending on the level of access required.
- Assign Members:
- Under Members, click Select members.
- Search for the Azure AD user or group you want to assign the role to and select them.
- Save Changes:
- Click Review + assign to save the role assignment.
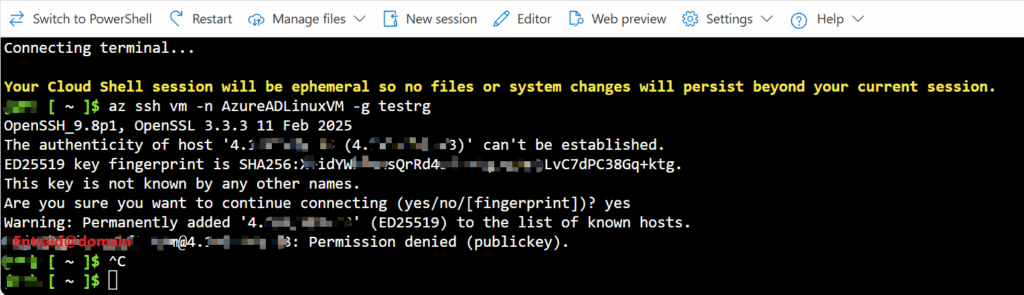
If you don’t assign the required role, you will get below error:
john [ ~ ]$ az ssh vm -n AzureADLinuxVM -g testrg
OpenSSH_9.8p1, OpenSSL 3.3.3 11 Feb 2025
The authenticity of host '4.xx.x.x (4.xx.x.x)' can't be established.
ED25519 key fingerprint is SHA256:X+idYWkBunsXXxXXxXXxXX5eU6nzLvC7dPXXxxX+Xktg.
This key is not known by any other names.
Are you sure you want to continue connecting (yes/no/[fingerprint])? yes
Warning: Permanently added '4.xx.x.x' (ED25519) to the list of known hosts.
[email protected]@4.xx.x.x: Permission denied (publickey).
Step 3: Connect to the Linux VM Using Azure AD Credentials
Once the VM is set up and roles are assigned, you can connect to it using Azure AD credentials. Azure provides multiple ways to connect, including the Azure Cloud Shell and tools like PuTTY.
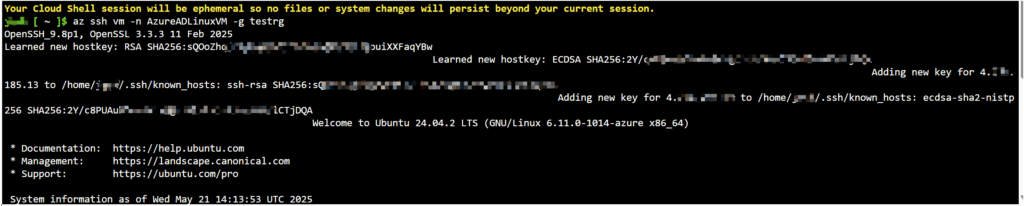
Option 1: Using Azure Cloud Shell
- Open the Azure Cloud Shell from the Azure Portal.
- Use the following command to connect to your VM:
az ssh vm -n <Azure_VM_Name> -g <Resource_Group_Name>
<Azure_VM_Name>with the name of your virtual machine.<Resource_Group_Name>with the name of the resource group where the VM resides.
This method eliminates the need to manage SSH keys manually, as Azure handles the authentication.
Option 2: Using PuTTY (Windows)
- Generate the config file.
John [ ~ ]$ ls
clouddrive  Microsoft
John [ ~ ]$ az ssh config --file config -n AzureADLinuxVM -g testrg
Generated SSH certificate /home/john/az_ssh_config/testrg-AzureADLinuxVM/id_rsa.pub-aadcert.pub is valid until 2025-05-27 02:34:18 PM in local time.
/home/John/az_ssh_config/testrg-AzureADLinuxVM contains sensitive information (id_rsa, id_rsa.pub, id_rsa.pub-aadcert.pub). Please delete it once you no longer need this config file.
John [ ~ ]$ ls
az_ssh_config  clouddrive  config  Microsoft
- Open the config file and you can find the location for ssh private key. Format like below:
Host testrg-AzureADLinuxVM
	User [email protected]
	HostName 4.XXX.XXX.XX
	CertificateFile "/home/john/az_ssh_config/testrg-AzureADLinuxVM/id_rsa.pub-aadcert.pub"
	IdentityFile "/home/john/az_ssh_config/testrg-AzureADLinuxVM/id_rsa"
Host 4.XXX.XXX.XX
	User [email protected]
	CertificateFile "/home/john/az_ssh_config/testrg-AzureADLinuxVM/id_rsa.pub-aadcert.pub"
	IdentityFile "/home/john/az_ssh_config/testrg-AzureADLinuxVM/id_rsa"
- Download and Install PuTTY:
- Download PuTTY from the official website.
- Install it on your local machine.
- Download the private key id_rsa and certificate id_rsa.pub-aadcert.pub.
- Convert SSH Key (/home/john/az_ssh_config/testrg-AzureADLinuxVM/id_rsa) to PuTTY Format:
- Use PuTTYgen to convert your private SSH key to the
.ppkformat. - Load the key, save it in
.ppkformat, and proceed.
- Use PuTTYgen to convert your private SSH key to the

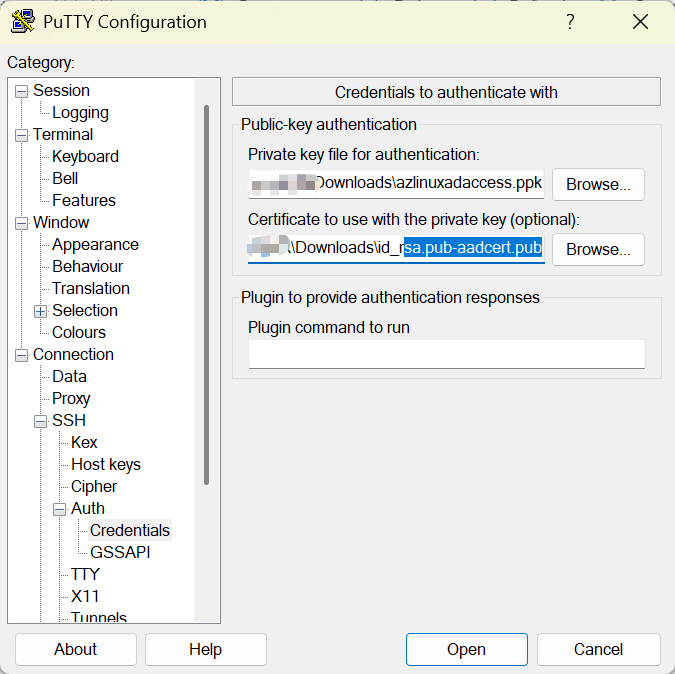
- Configure PuTTY:
- Open PuTTY and enter the Public IP Address of your VM.
- Under Connection > SSH > Auth, load the
.ppkfile. - Click Open to initiate the connection.
Step 4: Reset Password or Manage Access (Optional)
If you need to reset a user’s password or manage access:
- Reset Password:
- Navigate to the VM in the Azure Portal.
- Under Support + troubleshooting, select Reset password.
- Choose Username and reset the password.
- Modify Role Assignments:
- Go to Access control (IAM).
- Edit or remove role assignments as needed.
Troubleshooting Tips
- SSH Connection Fails: Ensure the VM’s Network Security Group (NSG) allows inbound SSH traffic on port 22.
- Authentication Errors: Verify that the user is assigned the correct Azure AD role.
- Public IP Issues: Confirm that the VM has a public IP address or configure a private connection using Azure Bastion.
Conclusion
Enabling Azure AD login for Linux VMs in Azure is a game-changer for organizations looking to enhance security and simplify access management. By following the steps outlined in this guide, you can configure Azure AD login, assign roles, and connect to your VM seamlessly.
For more cloud technical guides and best practices, explore our blog and stay updated with the latest in cloud computing.